
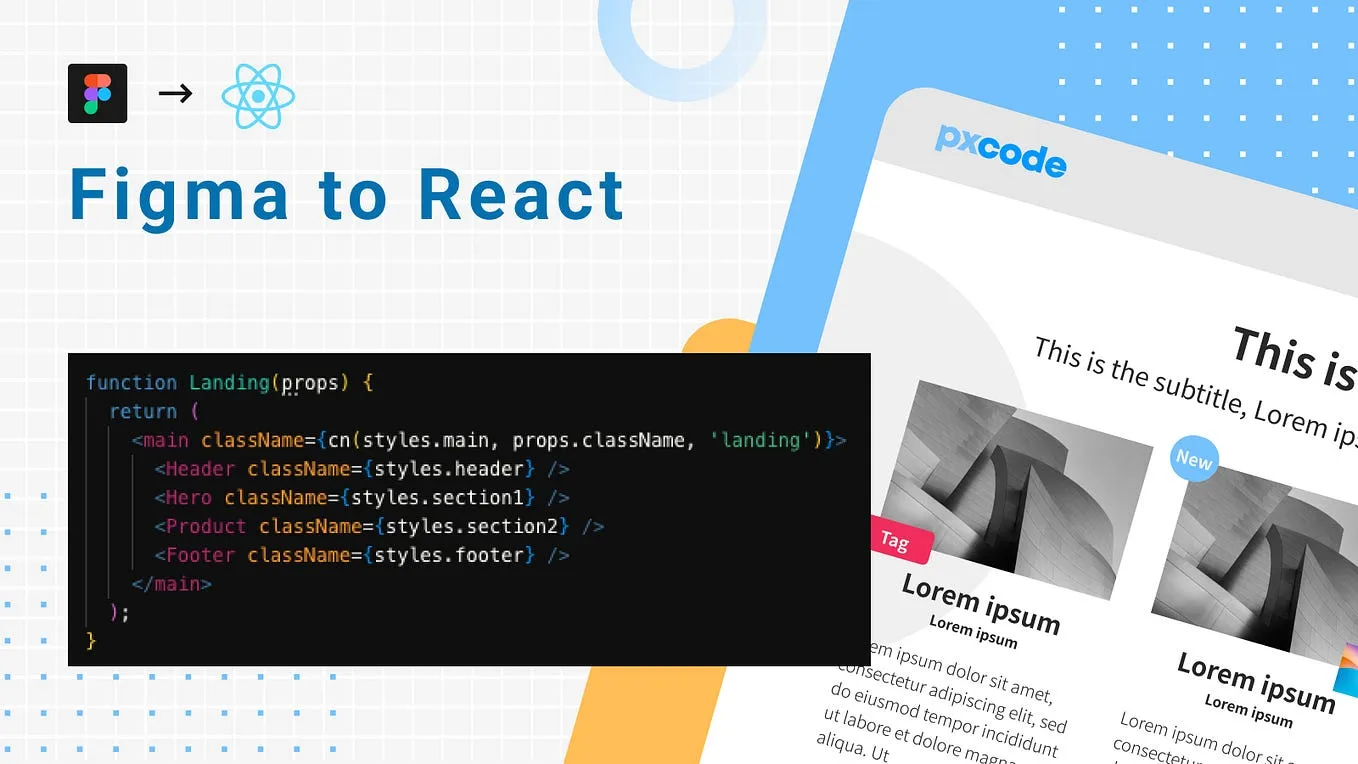
Writing code from scratch takes time. It also creates delays and often causes mistakes. Thankfully, there’s a better way. Now, you can export your Figma designs straight into React code. You don’t need to build every button or layout manually anymore. This blog shows you how to do it easily, clearly, and quickly.
Why Manual Coding Slows You Down
Manual coding takes effort. You must open the design, measure everything, and then write each part of the layout. Although this seems normal, it wastes time. Also, if the design changes, you must update the code again.
Instead of doing this every time, you can now use smart tools. These tools save hours and make your work easier.
What “Exporting to Native React” Means
Exporting to native React means turning your design into real code. This includes JSX, layout styles, and sometimes props. The result is not a picture or static file. It’s working code you can use in your app.
This way, you don’t have to guess paddings, margins, or font sizes. The tool handles all of that for you.
How to Get Your Figma File Ready
Before exporting, clean up your design. First, use auto layout in Figma to keep spacing correct. Then, group elements that belong together. Also, name your layers clearly. When possible, turn repeating parts into components.
Doing this makes the export smoother. It also makes your code more useful.
Which Tools Can Help You Export
Many tools can turn your design into code. For example, Locofy can export your designs using Tailwind CSS. Anima lets you export React code using styled-components or CSS. DhiWise gives you clean code with props already added. And Builder.io can turn your design into smart, reusable code.
These tools help you start fast and avoid slow, manual steps.
Steps to Export the Smart Way
First, design your UI using auto layout and components. After that, select what you want to export. Then, open the plugin and choose your settings. Be sure to pick the right format for your project, such as CSS or Tailwind.
Next, download the code. Look through it and rename any files or classes. If needed, move styles to your CSS files. Finally, test the code in your React app.
This method takes less time. It also reduces the chance of making mistakes.
What You Still Need to Code Yourself
Even after exporting, you still need to write some logic. This includes things like state, API calls, or user input handling. While the UI is already done, the behavior is still up to you.
But now, you can focus more on features and less on layout.
Conclusion
You no longer need to code every layout by hand. With clean Figma files and helpful tools, you can export your designs into real React code. This saves time and gives you a faster way to build.
Instead of repeating the same steps again and again, try this smart method. You’ll move faster, make fewer mistakes, and enjoy the process more.
Empowering Students for Professional Growth | Student Growth Guide
We recommend the Icon Pro Solutions Inc. team for their exceptional expertise and professionalism.